Soil orders are a classification system
USDA Soil Taxonomy groups soils using diagnostic properties and horizons. Its highest level contains twelve orders: Alfisols, Andisols, Aridisols, Entisols, Gelisols, Histosols, Inceptisols, Mollisols, Oxisols, Spodosols, Ultisols and Vertisols. These names describe broad differences in soil development, composition or environment. Other systems, including the World Reference Base, organise soils differently; USDA orders are not the only internationally useful classification.
A texture name such as sandy loam is a different kind of description. It refers to the proportions of sand, silt and clay in a sample, whereas an order depends on features of a soil profile and the classification rules. Two soils in the same order can have different textures, slopes and drainage. A mapped order therefore provides context rather than a complete specification for irrigation equipment.
Examples that explain the distinctions
Vertisols exhibit substantial shrinking and swelling associated with clay, so dry cracks and seasonal changes can complicate both water movement and sensor contact. Histosols are dominated by organic soil materials and may behave very differently from mineral soils under standard dielectric calibration. Gelisols include soils with permafrost near the surface under the classification criteria. These examples show why a sensor installation needs knowledge of the material around its sensing elements.
Entisols have little development of diagnostic horizons, while Inceptisols show an early stage of such development. Neither name alone means infertile or unsuitable for crops. Mollisols have a diagnostic dark, base rich surface horizon; Aridisols reflect dry environments and relevant diagnostic properties. Crop performance still depends on the specific soil, available water, salts, rooting conditions and management. Avoid treating an order name as a simple ranking from good to bad.
Use soil maps to choose where to investigate
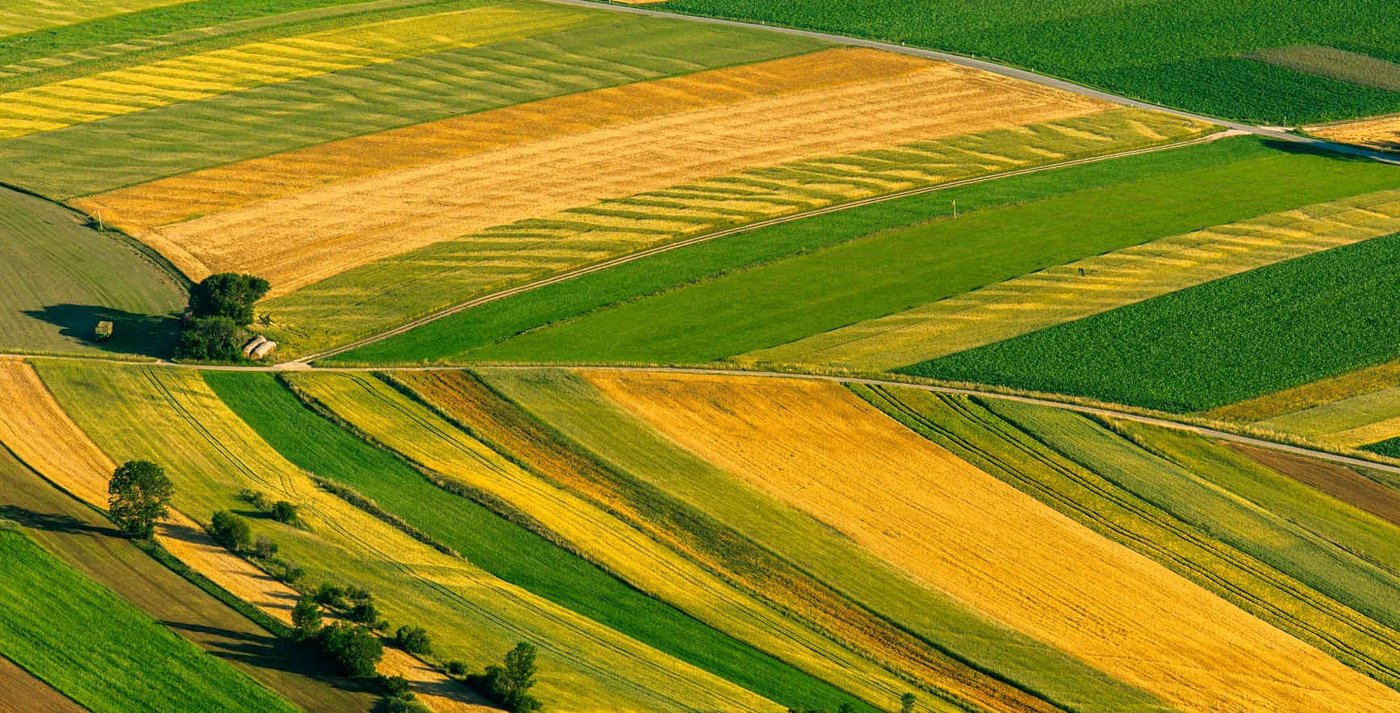
A soil survey can identify likely changes across a farm and suggest places where one monitoring station may not represent another. Read the map unit description as well as its label: mapped units can include several soils and small inclusions. A boundary on a survey map is a useful starting hypothesis, not a precise boundary for every irrigation valve or individual row.
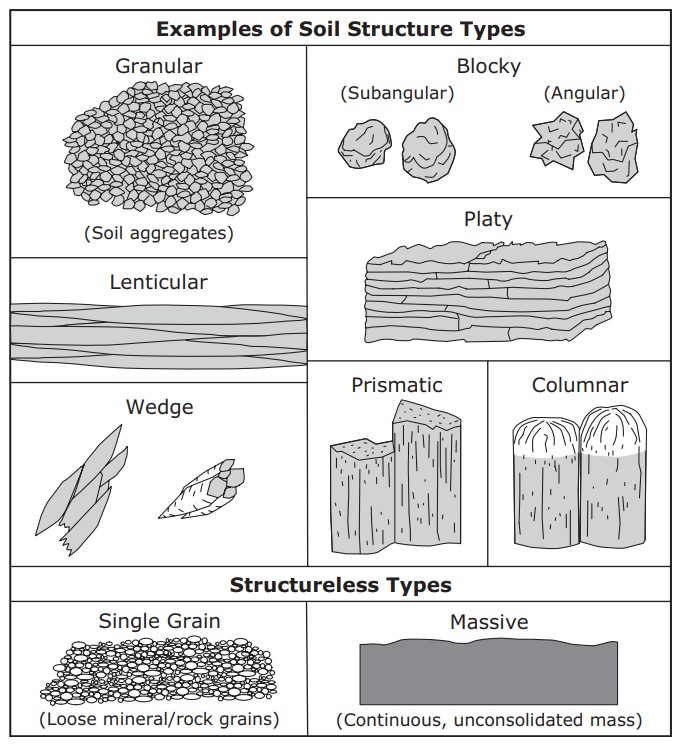
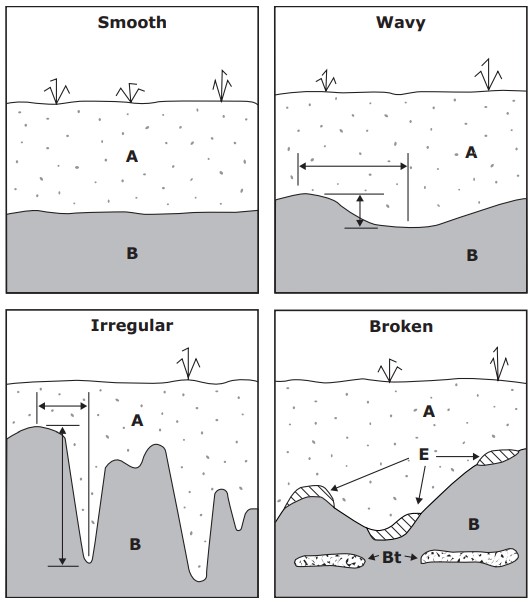
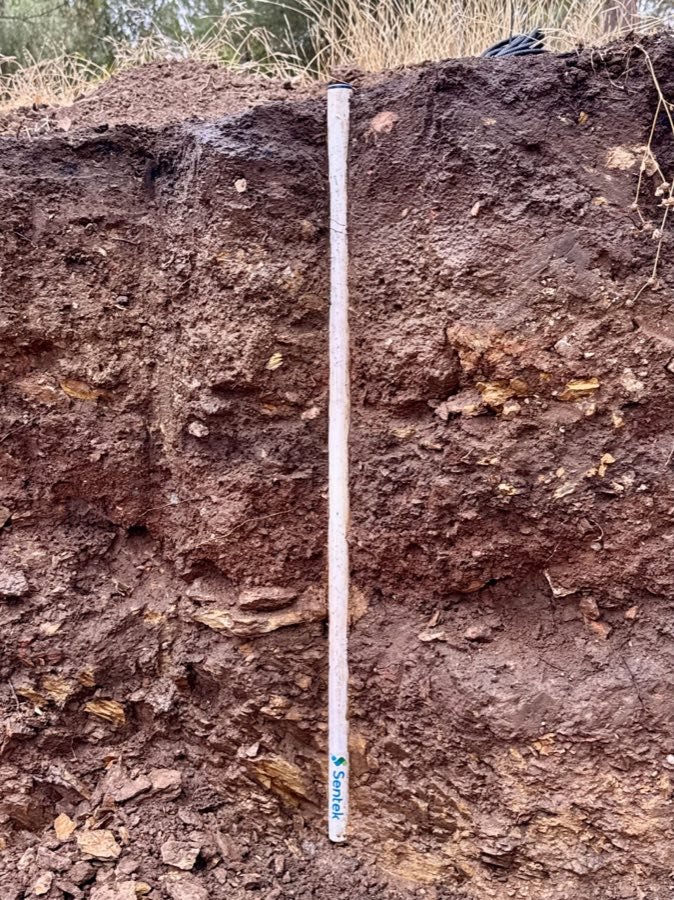
Check the profile where you plan to install. Record horizon depths, stones, rooting, compaction and any sign of seasonal saturation. If the mapped description and your observations disagree, investigate the difference before assigning a sensor reading to the whole area. Combining a survey with landscape position and practical sampling creates a more useful monitoring plan than choosing a site from a classification name alone.
Translate classification into practical measurements
The useful question is which property could change your decision. An organic soil may need a calibration check; a strongly cracking clay may need extra attention to installation contact; a dry landscape may require salinity testing alongside moisture monitoring. Classification helps identify those questions, while field measurements and local agronomic guidance provide the evidence needed to answer them.
For routine irrigation, establish the active root zone and a representative wet and dry operating range at each depth. For chemistry, use a laboratory method matched to the management question. Read soil texture and sensor placement before translating a survey description into a purchase or an irrigation schedule. A broad soil order should guide investigation, not dictate a universal moisture percentage.